Manual Scenario Development Station
This manual is intended for anyone who will build scenarios with the Scenario Development Station. This guide describes the following topics:
Purpose of the Scenario Development Station
Explanation what the scenario development station is
Instructions for Urban Builder
Instructions for building a 3D environment in Urban Builder and for exporting a 3D environment from Urban Builder to SUIT
Instruction for SUIT
Instructions for creating and testing a scenario in SUIT
Purpose of the Scenario Development Station
Prior to a training, new environments and/or scenarios may have to be created in order to achieve the set training goals. This is possible on the Scenario Development Station. This is a stand-alone laptop with the software Urban Builder and SUIT on it.
- In Urban Builder, a 3D environment (e.g. a shopping center) can be (re)created in an accessible way and exported to SUIT.
- In SUIT the exported 3D environment can be opened. A scenario – a specific situation within an environment – can be created and tested here. This scenario can then be loaded onto the EXCON using the external hard drive and used for training.
Case 12 SUIT DEVELOPMENT STATION is not mentioned in the connection diagram as it is an optional part of the system that can also be used separately. If desired, it can be plugged into the power reels of power group A or B by adding the power and current requirement to that group. It has two power cables for use in a socket (BS 1363) or for use in the power reel (CEE 7/7).
Instructions for RE-liON Builder
In RE-liON Builder a 3D environment can be built in an accessible way. This environment can then be exported to SUIT.
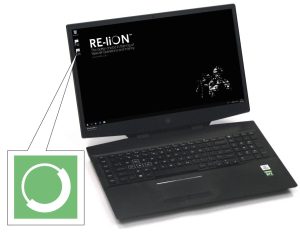
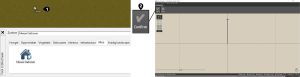
Double click on the RE-liON icon to start Builder.
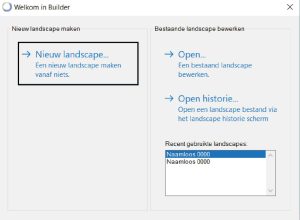
Click on New landscape… to create a new environment.
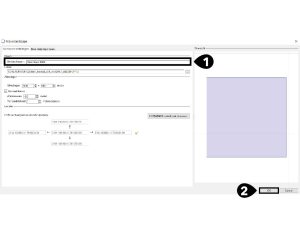
Choose a file name for the environment (1) and click OK (2).
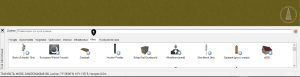
Click the All tab in the Tool library at the bottom of the screen (1).

Under the All tab, click New Building in the Tool library at the bottom of the screen.
Drag the building to the environment (1). When the mouse is released it will automatically open Urban Builder. Click Confirm to start drawing (2).
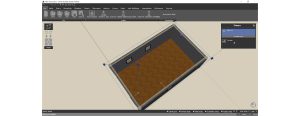
Draw the desired building.
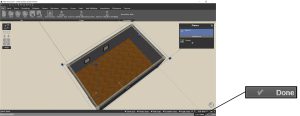
Click Done at the bottom right when the building is ready. The building is now placed in RE-liON Builder.

Export the building. Go to File → Export Landscape.
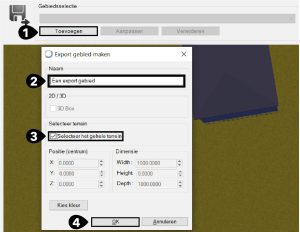
Add a new area selection by clicking Add (1). Choose a name for the area (2), select the checkmark for Select the entire terrain (3) and click OK (4).
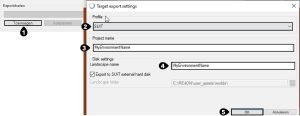
Add a new export target by clicking Add (1). Select SUIT as profile (2). Under Project name, choose a name for the environment (3). Enter the same name behind Landscape name (4). This name is visible in SUIT. Click OK (5).
Click Export and wait a while for the export to finish. Builder can now be closed.
Instructions for SUIT
After an environment has been built in Urban Builder and exported to SUIT, this environment will be added to the environments. In SUIT, a scenario can be built and tested in this environment. This scenario can then be used for training with SUIT.
Double click on the SUIT icon to start SUIT. Click “Ok” at the Hertz notification message on the screen.
In SUIT, go to Edit Scenarios.
Choose an environment to create a scenario in:
In the right list are the empty environments. When an environment has just been exported from Urban Builder, it is not yet visible in the list.
At the bottom right, first click on Refresh list (1). Select an environment (2). A preview of the environment is displayed
OR
Choose an existing scenario to edit:
Existing scenarios are shown in the left list. Select a scenario (1). When a scenario is selected, a preview of the scenario and a description are
displayed at the bottom of the screen. There are three options when an existing scenario is selected (2):
- Click Clone to make a copy of the screenplay and edit it. A copy of the selected scenario opens.
- Click Edit to edit the scenario. The selected scenario opens.
- Click Delete to delete the scenario. The selected scenario is removed from the list.
Create a scenario in the chosen environment or edit the existing scenario. The different options for creating and editing a scenario can be
found in Edit scenario actions.